
Manta ray: modeling
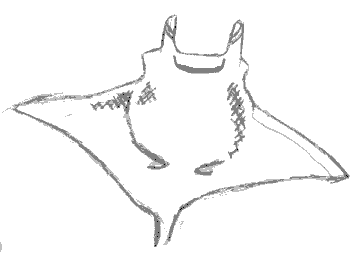 The modeling steps are the same as in the course (cover the armature, model, etc.),
only less complex. You don't have to worry about hands, feet and face.
To start modeling, take little flattened pieces of clay and cover
the entire armature with it. Do it in steps. It usually doesn't work
to take a big piece of Fimo, flatten it and cover the bulk of the
armature at once. With little pieces it's easier to smooth out and
flatter the clay as you apply it to the armature.
After you've covered the whole armature with a layer of clay, you can
really start to create it into a manta ray by adding mouth, eyes, etc.
Mouth
Flatten a single piece of clay and apply it to the belly of the manta,
covering it and ending just below the front (the nose) of the manta.
Smooth out the sides but keep the front apart from the nose. This should
make a nice manta mouth.
Eyes
Eyes
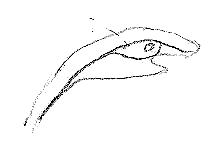
I couldn't make out the eyes from the pictures, so I just guessed they're on the side of mouth. If you really want to model a lifelike manta ray I suggest you go and see it in the zoo. Bring your sketchbook, observe and draw the manta as you see it. |
 |
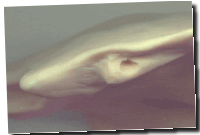 |
But for now, I modeled the eyes by adding a roll of Fimo to the sides of the mouth and, using a knitting needle, made a round indentation for the eyes. |
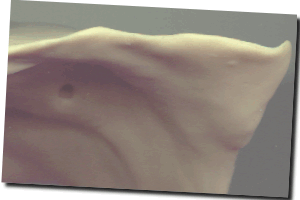 If all went well, you now have a long flatfish-like model.
To make it more ray-like, you can now add the fins (I don't know
if these are called fins or wings on a manta, but I mean those
flat triangles on the sides of the ray).
If all went well, you now have a long flatfish-like model.
To make it more ray-like, you can now add the fins (I don't know
if these are called fins or wings on a manta, but I mean those
flat triangles on the sides of the ray).Make sure you're happy with the belly and eyes and everything, because after you've added the fins it's getting harder to add more clay to your manta without damaging the delicate fins.
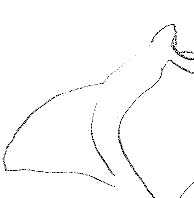 Make two flat triangles of clay of roughly the same size.