| |
Modeling: head
If you're doing a humanlike figure, you've arrived at the really hard part. The head.
Below is a description on modeling a small human head. For modeling other heads (e.g. a dragon)
look at the case study on that topic.
 |
Because of the small sizes (and because I'm Dutch) I'll do this section
in millimeters. Just divide it by 25 and you're back to inches.
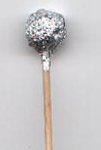
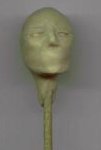
As you remember, the tinfoil ball for the head was stuck on the cocktail-stick
as part of the basic skeleton structure.
Take it off again and stick it on another cocktail-stick
so you can hold it in your hand easily.
For a 16 mm head you need a 13 mm tinfoil ball.
Put a 2 mm thick layer of Fimo onto the tinfoil ball.
Do this by wrapping a flat piece of clay onto the tinfoil from the top.
Put the egdes together at the base of the head, forming the neck.
|
 |
 |
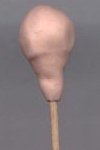
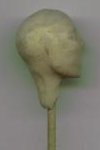
Make two dents for the eyes.
Make the eyes from little beads or balls of clay (about 2mm).
If you use flat beads, put a little clay in the center and make it into
a round ball.
Put the eyes in the sockets.
Partly cover the eyes with some small, flat pieces of clay.
These will make nice eyelids.
Now shape the forehead and the chin:
take a piece of Fimo, flatten it out on both sides and put
it on the bottom half of the head. Smooth it out and you have made
the chin.
|
 |
 |
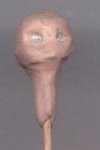
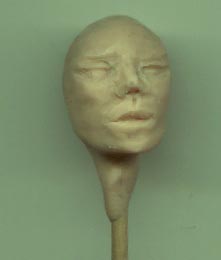
For the forehead, take another piece of Fimo, flatten it to 10 mm
and put it on top of the head.
Smooth it out over the head.
Make a tiny triangle of clay (about 4 mm) and put it between the eyes to make
the nose.
Take a small roll of clay, smooth it out halfway between the eyes and the chin,
cut a line in it, and make it into a mouth.
Put 5 mm triangles under the eyes to make the cheeks.
|
 |
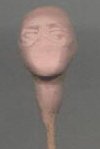
Look at your model from all angles (front and side) to see if it's
natural-looking. Don't worry about the ears and the neck right now.
Normally, I would create two ears and put those on the sides of the head,
but lately I've found out it's easier to add the ears later on. They tend
to get flattened if you're not careful.
Also, I add hair and beards and such later on, after I've put the head on the body.
 |
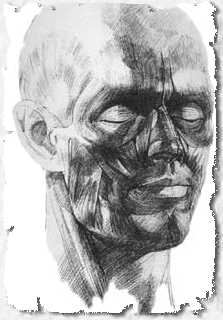 |
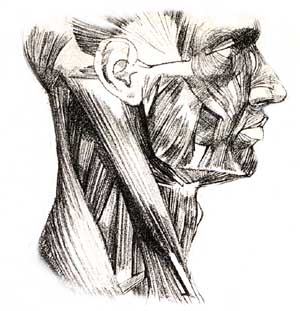 The two sketches I've included (pictures above and on the left)
are from an anatomy book by John Raynes, "Human anatomy for the artist"*.
They give an excellent view of the shape of the head and the muscles.
The two sketches I've included (pictures above and on the left)
are from an anatomy book by John Raynes, "Human anatomy for the artist"*.
They give an excellent view of the shape of the head and the muscles.
*I wanted to add a link to Amazon for information about the book,
but it is out of print. Don't worry, John Raynes wrote some new books on the subject
you can buy, or you might want to browse the book shop or library for some anatomy books.
These are the basic steps for making a head. Look at your sketches to see what
details you have to add. For example, if you're doing a fighter, you might want
to add some scars. If you're making a dwarf, puff out the cheeks, round the
nose and add a beard (obvious one, that is).
Orcs, ogres, trolls etc. appear to be very different. But if you look closely,
you may find that by exaggerating the chin and the mouth (with tusks) you can
create a quite convincing orc.
 |
If you're really happy with the result and don't want to risk damaging
(e.g. denting) the head, you can harden it in the oven separately.
But beware! Any new polymer clay (Fimo) you add afterwards doesn't stick to
this hardened clay too good, so make sure your head has ears (and hair).
I haven't tried this myself, but if you want a good bond between raw and baked
clay coat the baked clay with Sculpey Diluent, rub it in a bit and then
remove the excess oil with a paper towel so it doesn't shine.
The raw clay should now bond very well.
You can then put the head back on the body and begin shaping the shoulders
and neck.
|


|
