Dragon on treasure hoard: Modeling
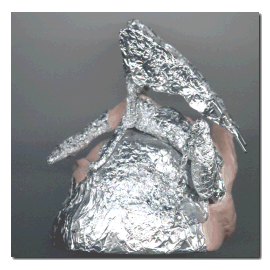
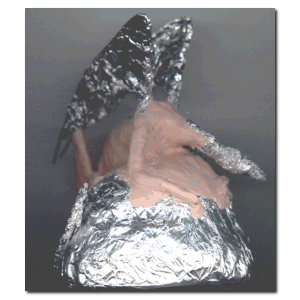
 Flatten pieces of clay and apply them to the armature of the dragon.
Use the clay to integrate the dragon with the base, leaving no gaps
between the dragon and the base. If there are gaps, try to position
the dragon a bit different or use crammed up tinfoil to fill the gaps.
It may get a bit bumped, but that's ok. Every bump can become a part
of the treasure hoard later on (making it into a chest, pot o' gold, heap of coins).
 Only cover the base where it's near to the dragon body, leave the rest
bare. That way, you can easily add hoard items without having to peel
some clay off first.
Now we've added clay to every part of the dragon armature,
we'll get to work on the individual parts of the dragon: the
head, arms, feet, body, tail and neck.


 Flatten pieces of clay and apply them to the armature of the dragon.
Use the clay to integrate the dragon with the base, leaving no gaps
between the dragon and the base. If there are gaps, try to position
the dragon a bit different or use crammed up tinfoil to fill the gaps.
It may get a bit bumped, but that's ok. Every bump can become a part
of the treasure hoard later on (making it into a chest, pot o' gold, heap of coins).
 Only cover the base where it's near to the dragon body, leave the rest
bare. That way, you can easily add hoard items without having to peel
some clay off first.
Now we've added clay to every part of the dragon armature, we'll get to work on the individual parts of the dragon: the head, arms, feet, body, tail and neck.